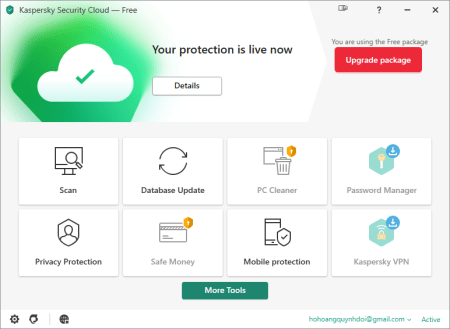
Cách đây ít ngày có dùng thử qua Kaspersky Security Cloud – Free, cài vào thì nhẹ mượt, dùng vài ngày cũng không tệ, mỗi cái chưa rõ lý do làm sao, mà trên 1 số ứng dụng thi thoảng Kaspersky Security Cloud – Free làm đơ luôn, quá là phiền, thế nên thôi, dùng thử Microsoft Defender, Antivirus cây nhà lá vườn, có sẵn khi cài đặt Windows 😀
Nếu chạy auto update trên Windows luôn gây rất nhiều rủi ro, kiểu thi thoảng Microsoft update cái gì đó, mà mình không kiểm soát được, ảnh hưởng tới hệ thống, vụ này mình gặp nhiều lắm rồi, thành ra giờ đa phần sau khi cài windows, chạy update đầy đủ lần đầu tiên, cài đầy đủ các app vào, chạy vài ngày ổn định là mình tắt auto update 😀
Giờ dùng Microsoft Defender mà tắt auto update thì cũng hơi kăng thẳng vấn đề tự cập nhập phần mềm diệt virus, đành google xem giải pháp làm sao, tiện thể tổng hợp lại thành bài này, để sau có cài lại máy còn nhớ
Bước 1: Sử dụng Wu10Man để tắt tự cập nhập Windows
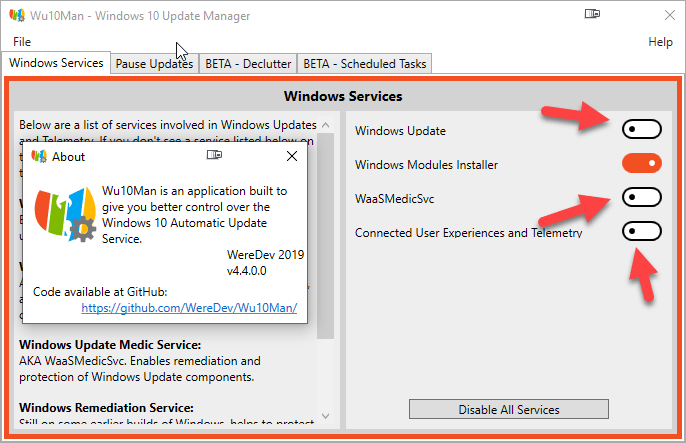
- Tắt Windows Update Service (wuauserv)
- Tắt Windows Update Medic Service (WaaSMedicSvc)
- Tắt Windows Remediation Service (sedsvc)
Cá nhân mình recommend dùng app để tắt tự cập nhập Windows Update, nó đơn giản, dễ nhớ, sau cần update chỉ việc vào app mở lại là xong, không phải nhớ thao tác phức tạp gì cả, có thể download bản Wu10Man Portable cho tiện, đỡ phải cài đặt 😀
Bước 2: Sử dụng Task Scheduler để tự cập nhập Microsoft Defender Antivirus
Chạy powershell
irm https://load.bibica.net/AutoUpdateDefender.ps1 | iex
Cứ 0h mỗi ngày nó sẽ tự chạy C:\Program Files\Windows Defender\MpCmdRun.exe để update Microsoft Defender
Giải pháp khác
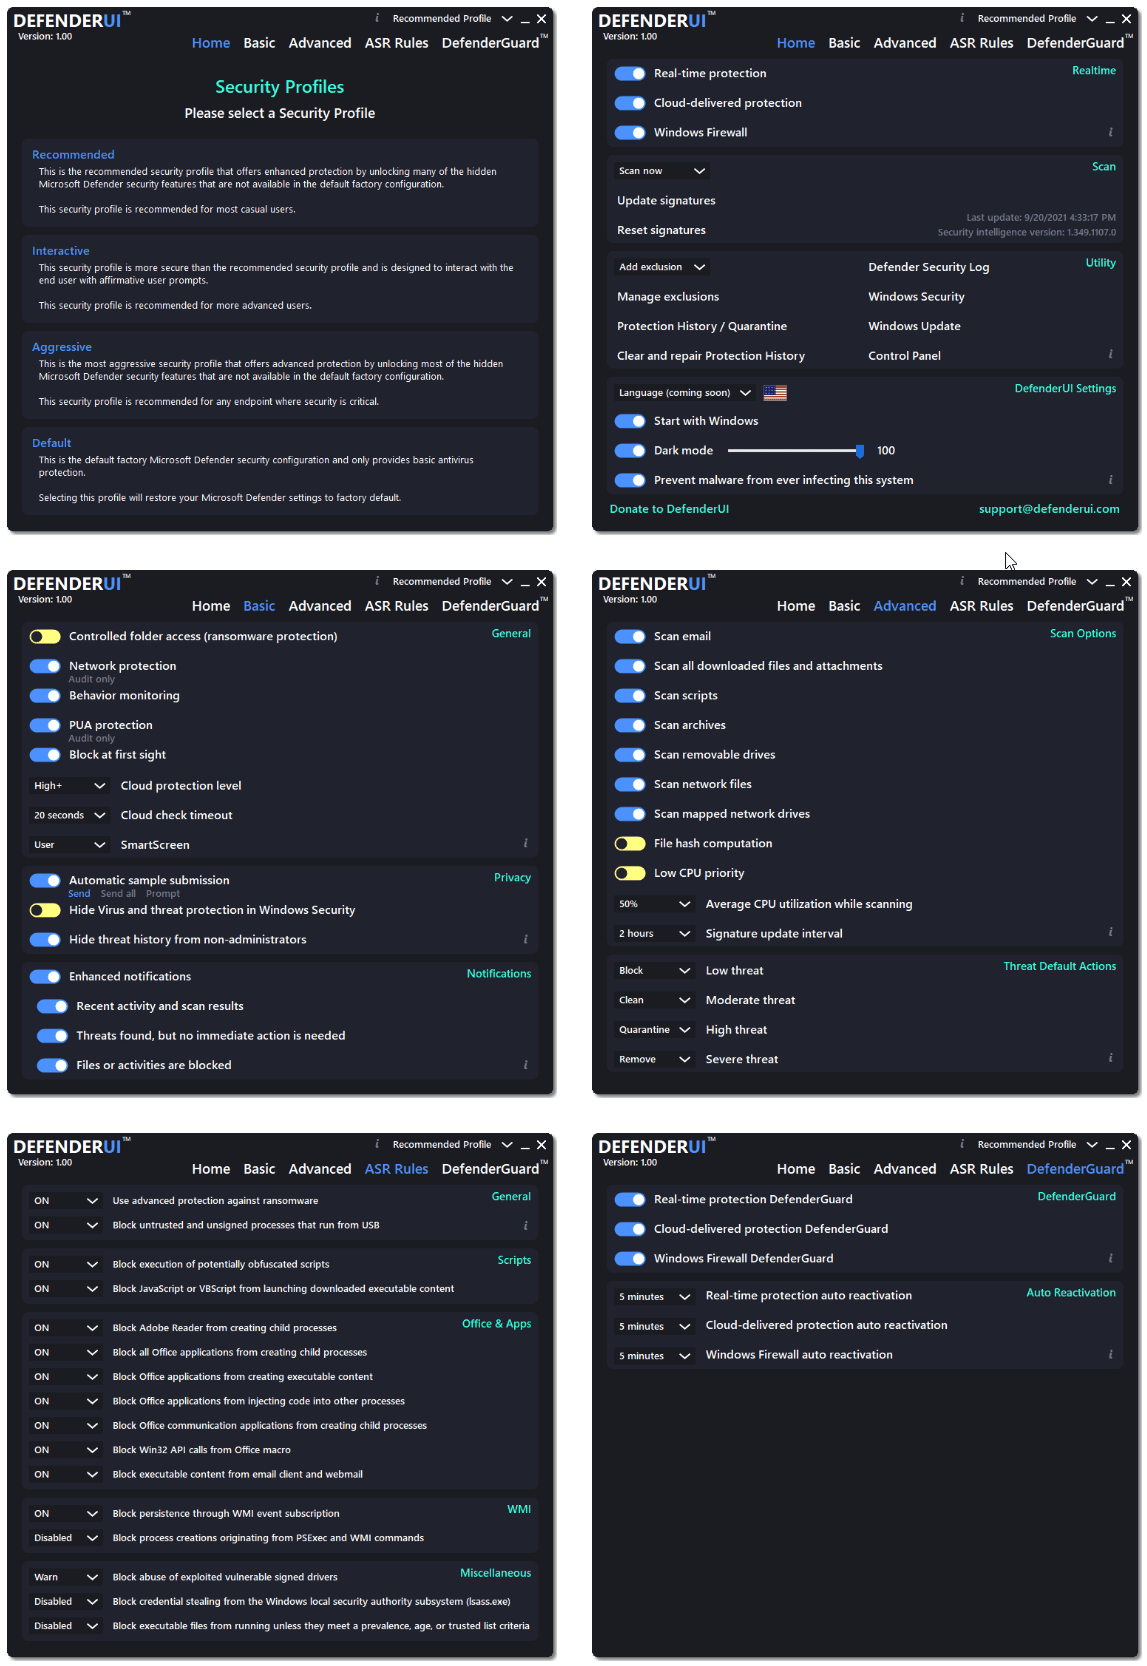
Cài đặt DefenderUI, có sẵn tự update, nó còn mở thêm nhiều tính năng khác, giúp quản lý tiện hơn
Tắt đăng nhập bằng password
- Mở PowerShell với quyền Administrator và 2 chạy lệnh này:
reg add "HKLM\SOFTWARE\Microsoft\Windows NT\CurrentVersion\PasswordLess\Device" /v DevicePasswordLessBuildVersion /t REG_DWORD /d 0 /f
netplwiz
- Tiếp theo

- Bỏ dấu tích ở checkbox Users must enter a user name and password to use this computer
- Click Apply hoặc OK
- Nhập lại password của tài khoản để xác nhận
- Restart máy
Từ lúc này đăng nhập Windows sẽ không cần nhập lại password nữa
Chính sách bình luận: Chúng tôi rất trân trọng các bình luận của bạn và cảm ơn thời gian bạn dành để chia sẻ ý tưởng và phản hồi.
Ghi chú: Những bình luận được xác định là spam hoặc chỉ mang tính quảng cáo sẽ bị xóa.
• Để cải thiện trải nghiệm bình luận, chúng tôi khuyến khích bạn tạo một tài khoản Gravatar. Thêm avatar vào tài khoản Gravatar sẽ giúp bình luận của bạn dễ nhận diện hơn đối với các thành viên khác.
• ✂️ Sao chép và 📋 Dán Emoji 💪 giúp bình luận thêm sinh động và thú vị!